

wildlife photographyfieldcraft
Wildlife Photography Challenges That Improve Field Craft
Seven self-set wildlife photography challenges, from eye level and backlight to behaviour sequences and habitat in frame, with the technique behind each.
Give yourself constraints
A useful personal challenge is narrow. “Go and shoot nature” produces the same four hundred robins. “Only animals at eye level this month” produces muddy knees, a different relationship with the ground, and a set of frames that look like nobody else's. Constraints force the technique you would otherwise never practise, because on an ordinary morning there is always an easier shot.
The challenges below are the ones working photographers set themselves. Each one trains a specific skill, and each one leaves a visible mark on the files, which is how you know it worked.
Seven challenges worth a month each
Pick one. Run it for a month. The point is repetition under a single rule, not a checklist you tick in a weekend.
Eye level, every frame
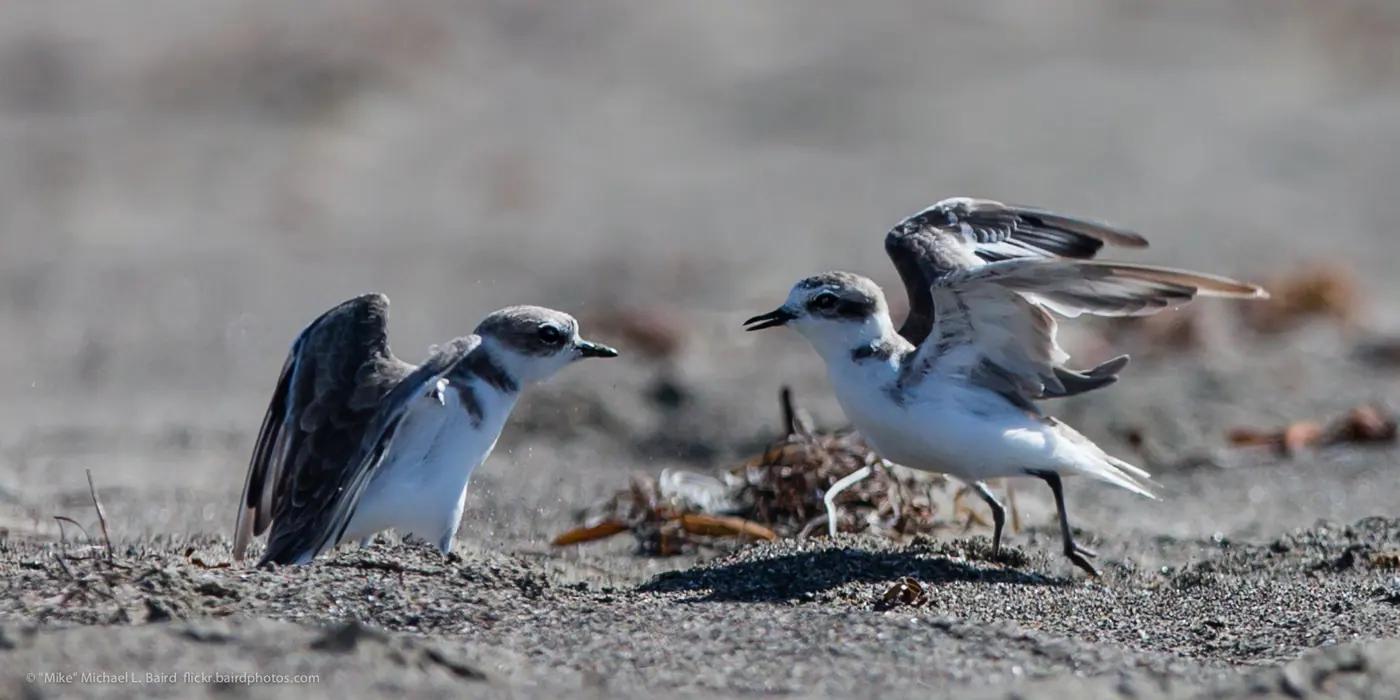
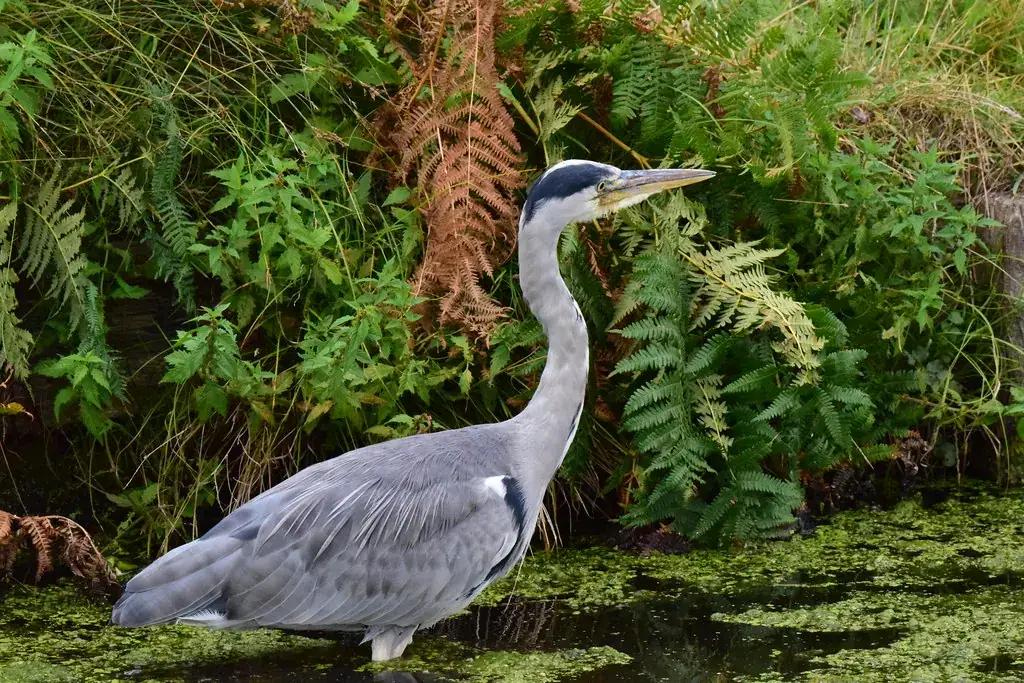
Get the lens to the animal's eye height: lying on the sand for a plover, kneeling for a fox, standing on the bank for a heron. It separates the subject from the background and makes the viewer a participant instead of an observer.
Backlight only
Shoot with the sun behind the animal for a month. You will learn to expose for the rim, to find dark backgrounds, and to read a silhouette for the feature that identifies the species.
Behaviour sequence
No single frames. Every outing must come back with a sequence of at least three: the perch, the look, the dive; the stoop, the strike, the carry. It teaches anticipation, which is the whole game.
Habitat in frame
No crop tighter than a third of the frame. The reeds, the sand, the bark stay in. It is harder to compose, it identifies the animal better, and it is the context factor a capture grade looks for.
One species, one month
Everything you shoot is the same species. By week three you know where it feeds, when it calls and which perch it prefers in rain, and the frames from week four are the ones that sell.
The ugly hour
Midday, flat light, nothing moving. Learn to find shade, overcast and water reflections. The photographers who only shoot golden hour are helpless for ten hours a day.
The lookalike pair
Photograph both halves of a pair, willow warbler and chiffchaff, great egret and snowy egret, showing the feature that separates them. It is identification training with a camera.
Backlight without losing the bird
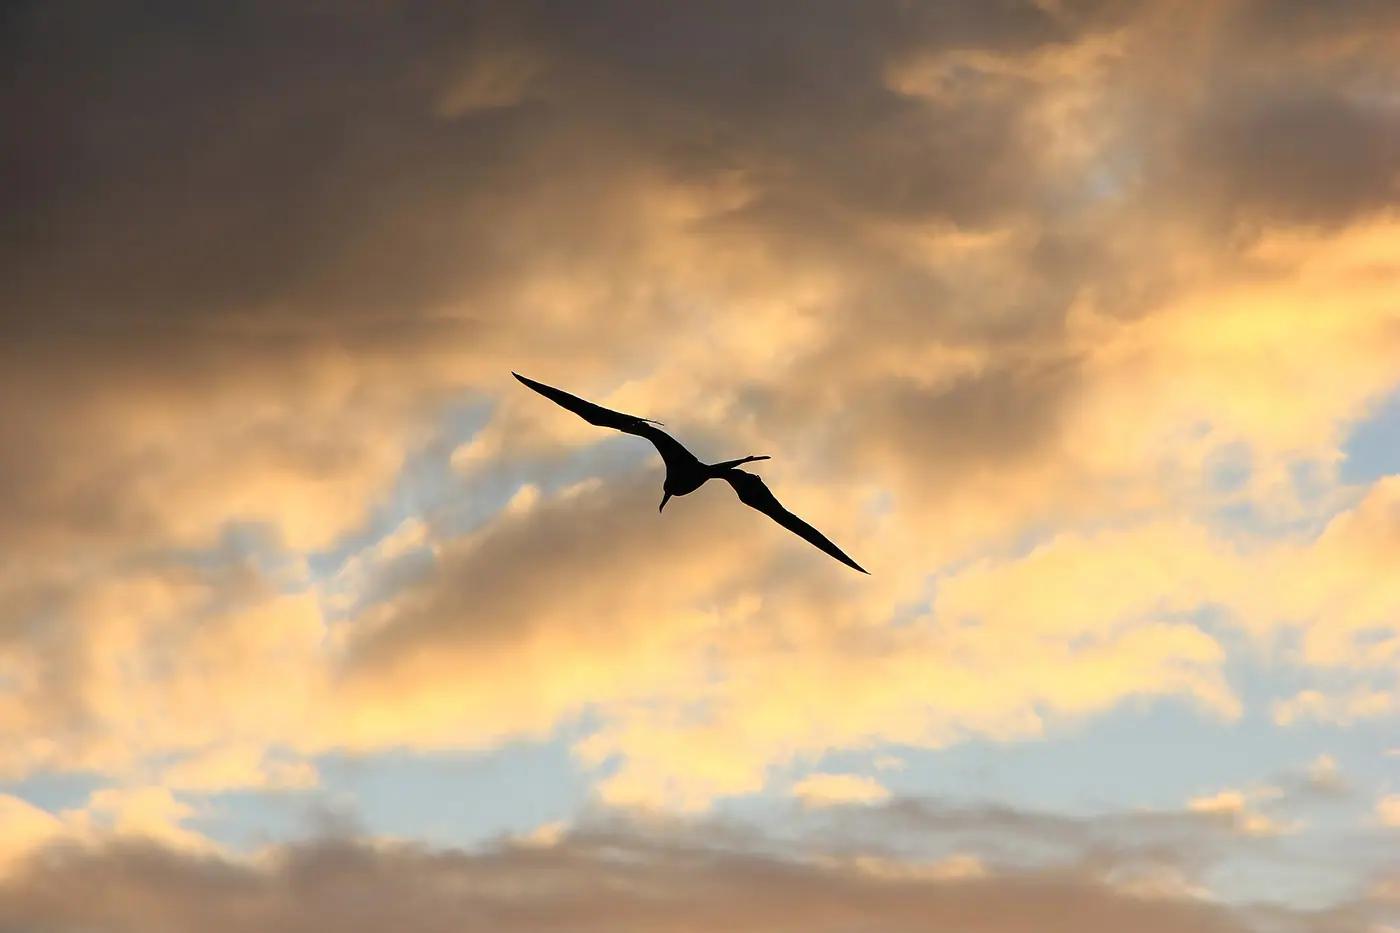
Backlight is the challenge most people fail first, because the camera's meter wants to turn a bright sky into mid-grey and the bird into a black blob. The fix is to decide what the frame is about before you press anything. If it is a silhouette, expose for the sky and let the bird go black, then make sure the outline alone identifies the species: the frigatebird's long angled wings and forked tail read instantly, which is why it works as a shape. If it is rim light, you want the sun just outside the frame, a dark background behind the animal, and about a stop more exposure than the meter suggests so the lit edge of the feathers glows without the body dropping to nothing.
Either way, shoot when the sun is low. Twenty minutes either side of sunrise and sunset gives you a sun you can put behind a bird without it burning out the whole sky.
Behaviour sequences, not hero frames
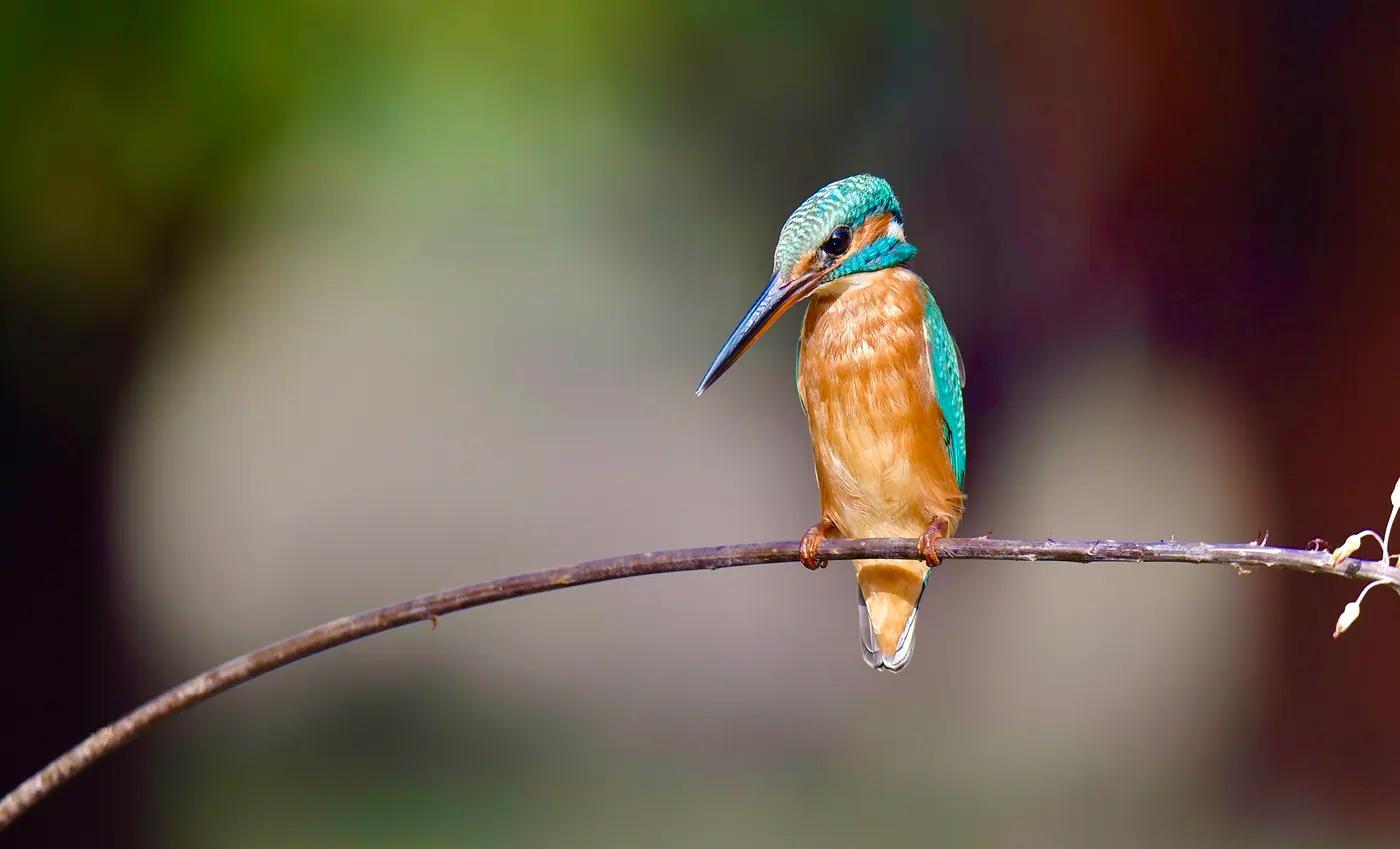
A common kingfisher is 16 cm of patience. It fishes from a perch, watches, bobs its head to judge the range, and dives; the whole event lasts about a second and the bird is back on the perch with the fish before most people have raised the camera. The sequence challenge is to get the perch, the pre-dive stare and the return, which means picking the perch before the bird does, pre-focusing on it, and waiting through the twenty misses for the one that goes.
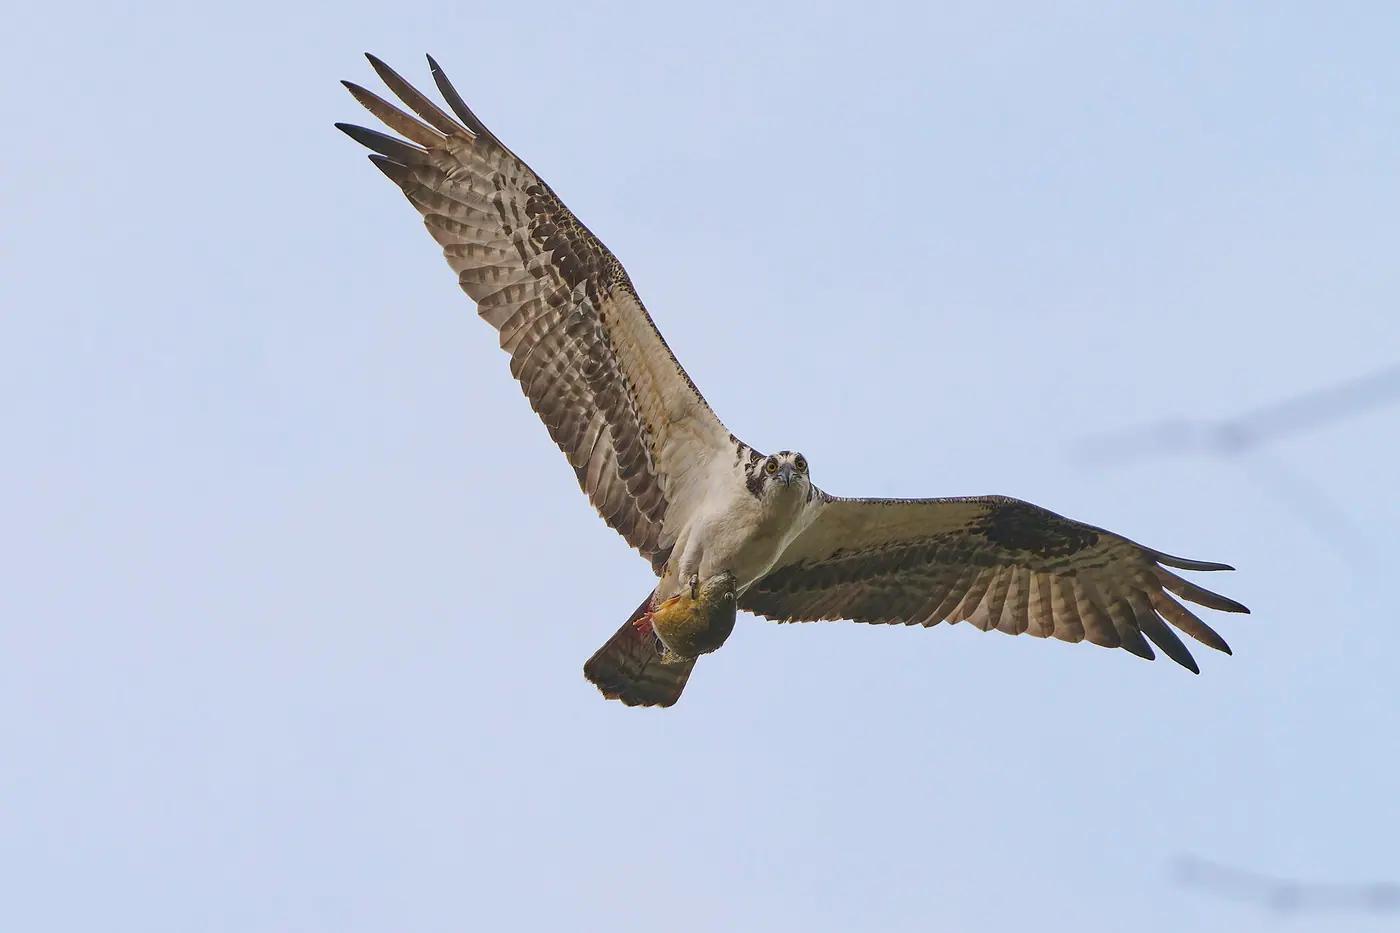
An osprey carrying a fish is the same lesson at a larger scale. Ospreys turn the fish head-first into the wind to reduce drag, and that one detail is what makes the frame a photograph rather than a record shot. You only get it by watching the bird long enough to know which way it will turn after the strike. Every sequence challenge is really an anticipation challenge, and anticipation is the one skill no lens can buy.
Perch, strike, carry
Use AnimalDex as the scoreboard, not the prize
Unique species, distinct locations and capture grade are already in the product, which makes it a convenient scoreboard for a self-set challenge. The grade is a 1–10 score for a specific capture, built from clarity, framing, identification confidence, visible detail and context. Those map onto the challenges above almost one to one: eye level and habitat feed framing and context, backlight feeds visible detail, the lookalike pair feeds identification confidence.
Missions grant Credits for some of those loops. Credits are not cash and cannot be converted into Earnings. Creator Rewards, the program designed to recognise live contribution, is currently paused. The improvement is the point; the scoreboard just makes it visible.
| Grade factor | What it looks at | What you control in the field |
|---|---|---|
| Clarity | Focus on the animal, motion blur, noise | Shutter speed, steadying the phone, waiting for the pause |
| Framing | How much of the frame the animal fills and where it sits | Distance, crouching to eye level, not centring everything |
| Identification confidence | Whether the photo shows the features that separate the species | Side-on angle, visible legs, bill, wing tips or markings |
| Visible detail | Feather, scale or fur texture and the eye | Light direction, getting closer without flushing the animal |
| Context | Habitat and setting around the animal | Leaving reeds, bark or sand in the frame instead of cropping to a head |
Ways to earn on AnimalDexHow AnimalDex indexes animals
Do not confuse this with a Sponsored Challenge
A Sponsored Challenge is a time-boxed campaign a zoo, park, tourism board or brand can enquire to run inside AnimalDex: free to join, published rules, a venue radius or species theme, and achievement rewards today rather than cash. It is not Arena PvP, and it is not a personal homework list. If a zoo or park invites you into one, the objective will be written on the campaign, usually unique indexed animals, qualifying captures or active days. Until then, set your own.
Every sequence challenge is really an anticipation challenge, and anticipation is the one skill no lens can buy.
Pertanyaan singkat
Jawaban ringkas untuk pertanyaan yang paling sering muncul pada topik ini.
- How do I get better at wildlife photography?
- Set one narrow constraint and keep it for a month: eye level only, backlight only, or one species only. Constraints force the techniques an ordinary outing lets you avoid, and a month of repetition is what makes them automatic. Review the files against a single question, did the rule improve them, then pick the next constraint.
- Why does eye level matter in wildlife photography?
- Shooting at the animal's eye height puts the viewer in its world instead of looking down on it, throws the background further out of focus because the lens is parallel to the ground, and shows the features that identify the species from the side. For a plover that means lying on the sand; for a heron, standing on the bank.
- How do you photograph a bird against the sun?
- Decide first whether you want a silhouette or rim light. For a silhouette, expose for the sky and let the bird go black, and make sure the outline identifies it. For rim light, keep the sun just outside the frame, find a dark background and give about a stop more exposure than the meter suggests. Shoot within twenty minutes of sunrise or sunset.
- What is the difference between a personal challenge and an AnimalDex Sponsored Challenge?
- A personal challenge is a rule you set yourself to practise a technique. A Sponsored Challenge is a campaign a business runs inside AnimalDex with published rules, a theme or venue radius, and achievement rewards rather than cash. It is free to join and not a PvP mode. Both are about going out and capturing live animals; only one has a sponsor.
Hewan yang disebut
Lompat dari artikel ini ke halaman spesies di balik contoh, catatan systems, dan referensi field guide.
Panduan jawaban terkait topik ini
Kalau kamu ingin perbandingan langsung dan rekomendasi yang jelas, lanjutkan ke halaman jawaban berikut.
Best Animal Identification Apps
Compare the best animal identification apps by features like photo/video identification, species coverage, collection capabilities, offline use, and more.
What Is Animal Collecting
Learn what animal collecting means in modern apps and how AnimalDex turns real-world sightings into cards, sets, rarity, and species learning.
Pokemon-Like Animal App
Looking for a Pokemon-like animal app with real species? AnimalDex combines creature-collection energy with AI scanning and wildlife learning.
Comparisons terkait
Lanjutkan ke halaman comparison animal-vs-animal terstruktur yang terhubung dengan spesies di panduan ini.
Panduan terkait
wildlife photography
Why Photographers Should Track the Species They Photograph
A species list changes what you go out to shoot. How a tracked list exposes portfolio gaps, keeps IDs honest, and turns a camera roll into a body of work.
6 menit baca
How to Build a Digital Species Collection as a Photographer
Turn field photos into a searchable species collection: what counts as a capture, how a card gets indexed, and the field habit that keeps the list honest.
7 menit baca
How AnimalDex Rewards Genuine Wildlife Contribution
Creator Rewards recognises live, diverse, high-quality wildlife contribution and is currently paused. What genuine means, and what never becomes cash.
6 menit baca