

Wildlife photographyRespectful observationTravel spotting
Wildlife photography for beginners without stressing animals
Beginner wildlife photography tips that keep animals calm: distances, stress signals, camera and phone settings, hides and the ethics rules.
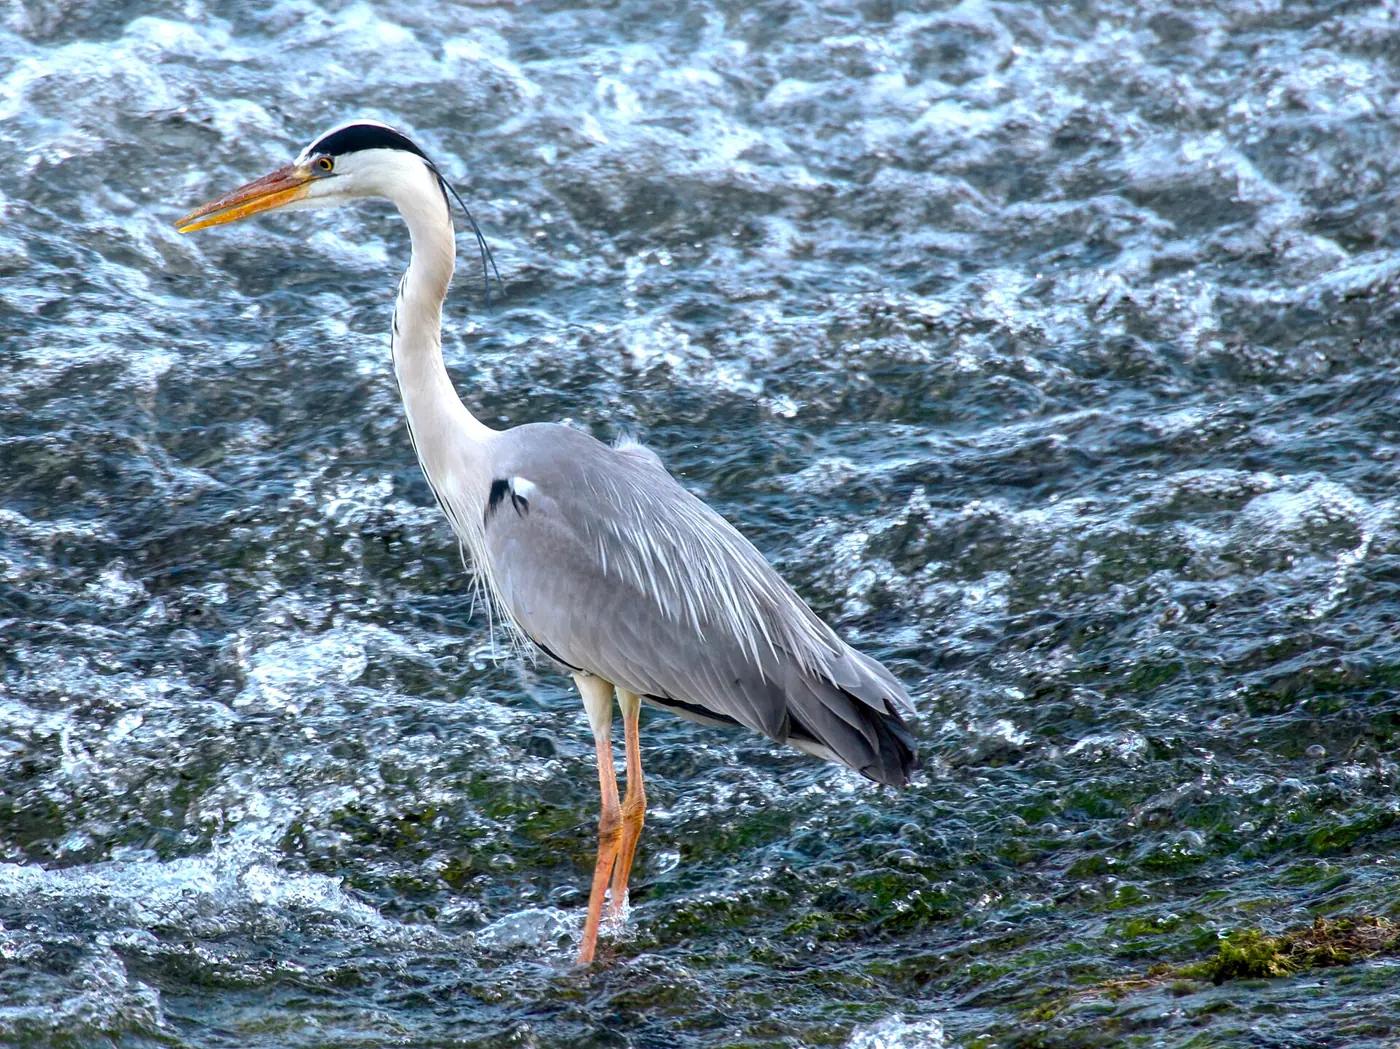
In this guide
- The first rule is simple: the animal comes first
- Read the stress signals before the shutter
- Good animal photos are usually built on shape and context
- Settings that work for beginners
- Hides, cars and the art of staying put
- Work with light, patience and repeat sightings
- Logging the moment after the photo makes you a better observer
- Why this matters for AnimalDex
The first rule is simple: the animal comes first
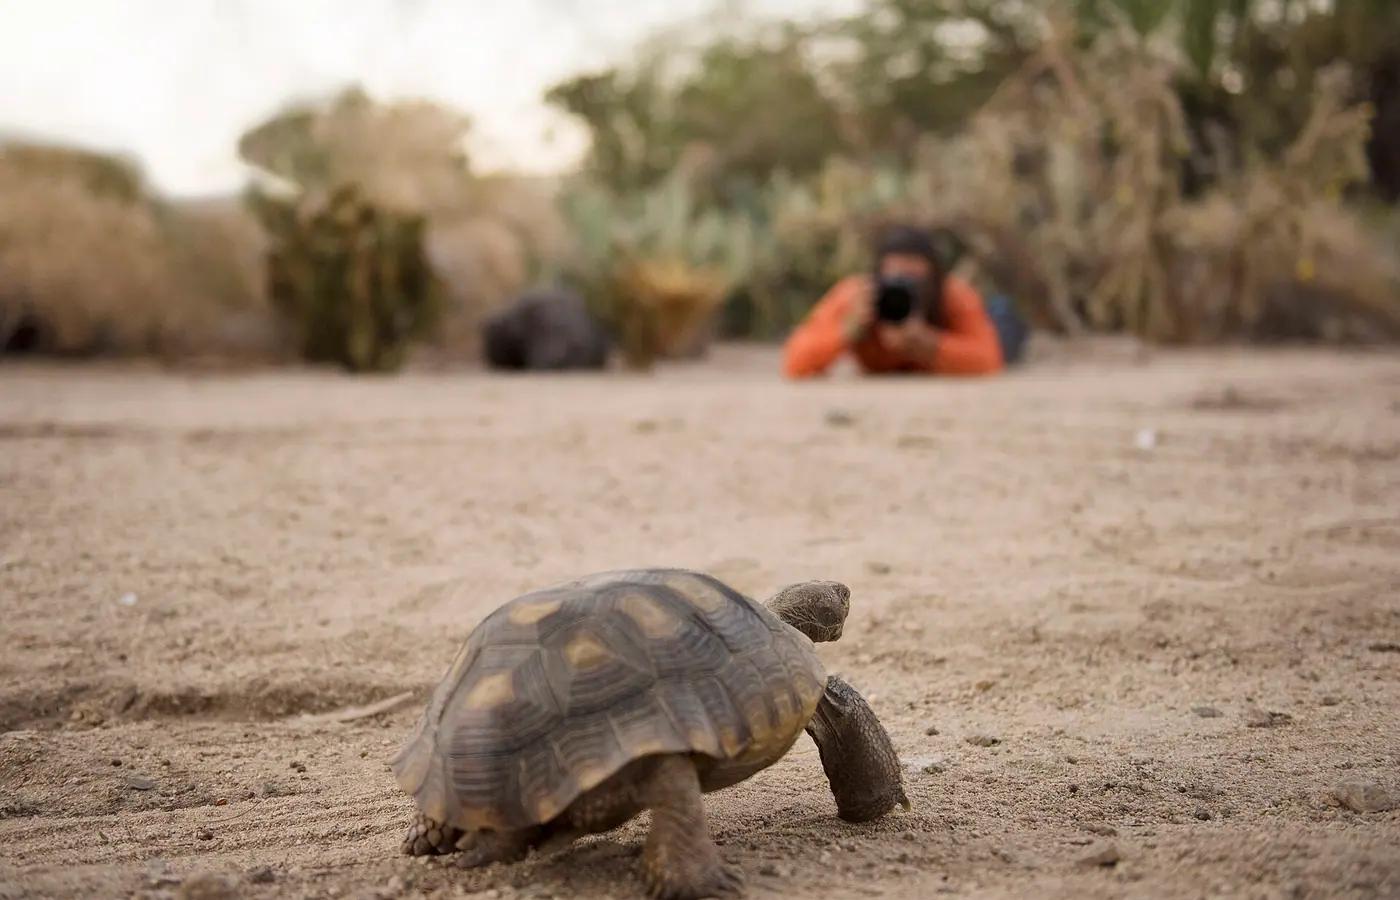
A better wildlife photo is never worth a worse day for the animal. Do not crowd nests or dens, block an escape route, separate parents from young, bait animals toward the lens, use recorded calls to pull birds in, or keep moving closer after the animal has already noticed you. Audubon's ethical photography guide and most national park rules say the same thing in different words: if your presence changes the animal's behaviour, you are too close.
Beginners sometimes assume respectful photography means missing the shot. Usually the opposite is true. Calm distance, stillness and patience produce natural behaviour, and natural behaviour is what makes a wildlife photograph worth looking at.
Read the stress signals before the shutter
Animals tell you when you have crossed the line, and the signals are consistent within each group. Learning a handful of them turns a vague rule into a decision you can make in the field.
| Animal group | Early warning | Clear stress | What to do |
|---|---|---|---|
| Birds | Stops feeding, head up, body feathers sleeked | Alarm calls, repeated short flights, feigned injury near a nest | Lower the camera, step back along the way you came |
| Deer and antelope | Ears swivel toward you, chewing stops | Foot stamp, snort, tail flag, bounding away | Freeze, then retreat; never follow |
| Foxes, otters, small mammals | Freeze, stare | Flattened ears, bolting for cover | Stay seated and let it choose to return |
| Reptiles basking | Head lifts, body tenses | Dash for cover; basking abandoned | Give it ten minutes; it needs that warmth |
| Seals and sea lions | Heads up along the haul-out | Stampede into the water | Stay well back on the beach; 50 m is a common minimum |
Good animal photos are usually built on shape and context
Sharp feather detail is nice, but identification often comes from the whole scene. Body shape, gait, bill or muzzle profile, tail use, horn direction, wing posture and the landscape around the animal can matter more than perfect texture. A robin on a spade handle in a garden tells you more than a frame-filling robin's eye.
That is why many of the strongest photos for identification are not extreme close-ups. They show enough of the environment to make the sighting make sense, and they are often the frames a longer lens would have cropped away.
Settings that work for beginners
You do not need a professional kit, but you do need to stop blur. For birds and moving mammals, a shutter speed of 1/1000 s or faster freezes most action; 1/250 s is enough for a resting animal. Shutter-priority or a sports mode gets you there on any camera. Raise ISO before you drop shutter speed: a slightly grainy sharp photo beats a clean blurred one.
On a phone, use the longest optical lens you have (usually 2x, 3x or 5x) rather than pinching to zoom, which only crops. Tap the animal to focus and lock exposure, hold the phone with both hands or brace it against a post, and shoot bursts. A small clip-on phone adapter for binoculars or a spotting scope (digiscoping) is the cheapest route to a usable photo at 50 m without moving a step.
Shutter
1/1000 s for birds in flight and running mammals, 1/500 s for walking animals, 1/250 s for anything still.
Aperture
Wide open (the smallest f-number) for a single animal; stop down two stops for a group so all faces are sharp.
ISO
Let it climb. Modern sensors and phones handle ISO 1600 to 3200 well at dusk, when most animals move.
Focus
Single-point or animal-eye autofocus on the eye. If the eye is sharp, the picture works; if not, little else saves it.
Lens
A 300 mm to 600 mm telephoto keeps you outside an animal's flight distance. On a phone, the longest optical camera plus a scope does the same job.
Flash
Off. Flash startles nocturnal animals and can temporarily blind them; a red-filtered torch and high ISO are the humane alternative.
Hides, cars and the art of staying put
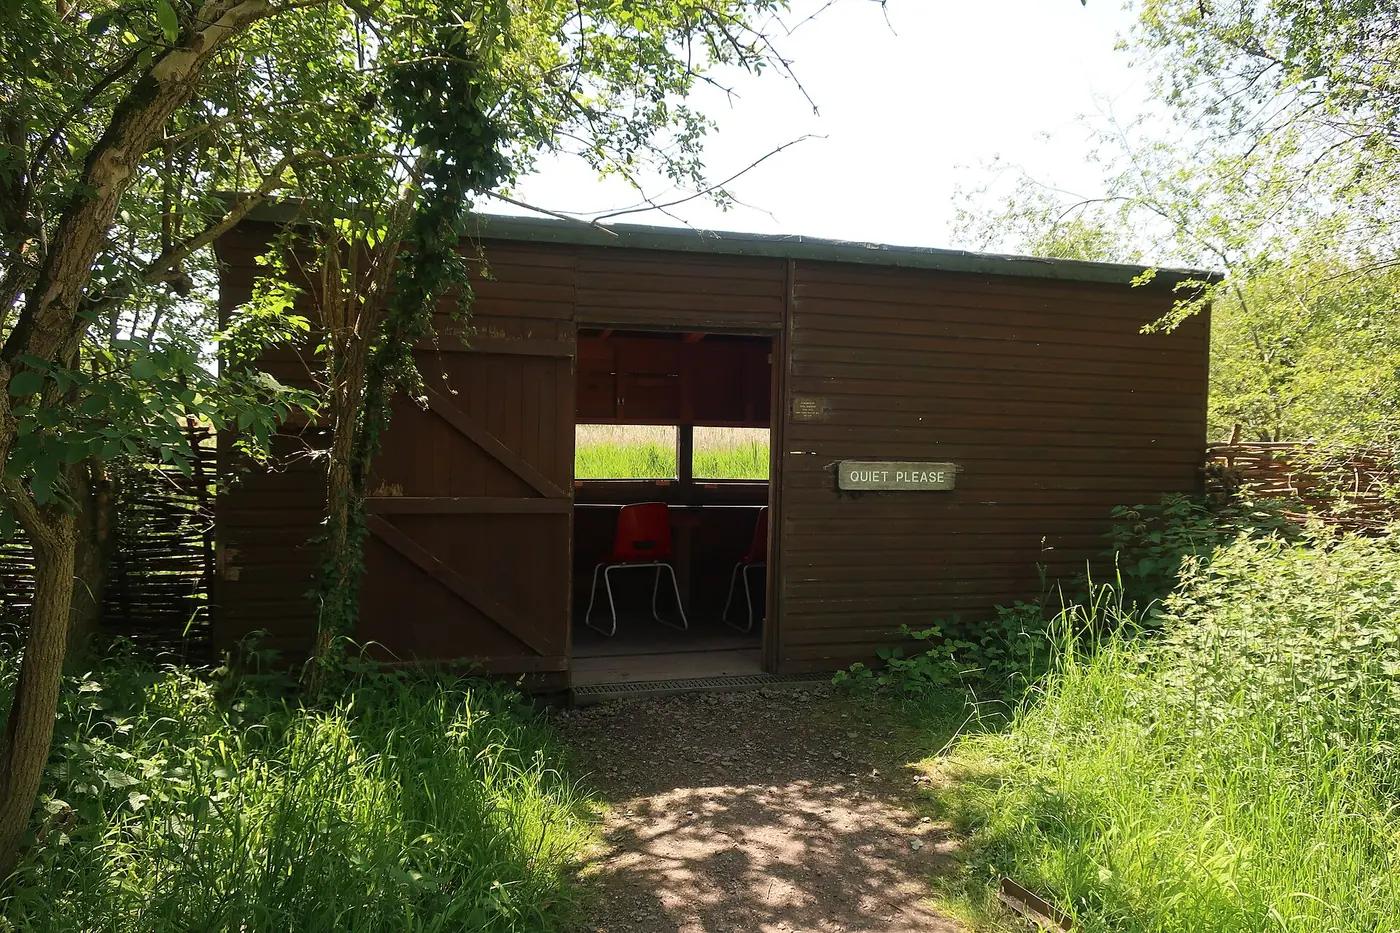
The oldest trick in wildlife photography is to arrive before the animal and let it come to you. Nature reserves build hides for this reason: a wooden screen with a window, placed where birds already feed or drift past, takes the human shape out of the landscape. Thirty minutes in a hide usually produces closer, calmer behaviour than three hours of walking.
A parked car is a hide on wheels. Deer, foxes, raptors and most waterbirds tolerate a stationary vehicle far closer than they tolerate a person on foot. Switch the engine off, open the window slowly, rest the lens on a folded jacket and wait. On safari the same rule applies: the moment someone stands up in the vehicle, the sighting is usually over.
Work with light, patience and repeat sightings
Early and late light helps colour and contrast and, more usefully, coincides with when most animals are active. Side light shows texture in fur and feathers; front light at midday flattens everything and sends mammals into the shade. If you wait instead of forcing the moment, animals often turn, pause, feed or move into a cleaner angle on their own.
Repeat sightings are valuable too. One frame might show the head pattern, another the way the animal moves, another its size against a fence post or a known plant. A journaled approach lets each sighting add evidence, which is how uncertain identifications get resolved later.
The animals that walk into a good photo are the ones that never noticed the photographer.
Logging the moment after the photo makes you a better observer
The photo is only part of the record. Note where you were, what the habitat looked like, what the animal was doing and what first caught your eye. Those details help with identification later, separate lookalike species, and make the sighting more meaningful than a file name.
This is where a wildlife photography app and a field journal work together. The useful version does not just store pictures. It attaches species, place and date to each one, so a folder of JPEGs becomes a list of animals you have actually seen.
Wildlife photography companionBuild a wildlife photography life list
Why this matters for AnimalDex
AnimalDex is built for photographers because the camera is usually the bridge between noticing and understanding. A live capture in the app resolves to a species card, and the card carries the place and date. The grade on a capture scores the photo, not the animal: a sharp, well-lit frame taken from a respectful distance outranks a close blur, which rewards exactly the habits described above.
That is useful whether you are photographing birds near home, mammals on safari, reptiles at a zoo, or an unexpected species on a family trip.
Quick questions
Short answers to common questions readers ask on this topic.
- How close can you get to wildlife for a photo?
- Close enough that the animal keeps doing what it was doing, and no closer. US national parks set a minimum of 25 m for most wildlife and 100 m for bears and wolves; seal and sea-lion haul-outs usually ask for 50 m. If feeding stops or the animal stares, you have already crossed its comfort line and should back away.
- What shutter speed do you need for wildlife photography?
- Use 1/1000 s or faster for birds in flight and running mammals, around 1/500 s for walking animals, and 1/250 s for a resting subject. Raise ISO rather than slowing the shutter when light fades, because a slightly noisy sharp image is usable and a blurred one is not.
- Can you take good wildlife photos with a phone?
- Yes, within limits. Use the longest optical lens rather than digital zoom, tap to focus on the animal, brace the phone and shoot bursts. For anything beyond about 20 m, a clip-on adapter that holds the phone to binoculars or a spotting scope gives far better results than cropping and keeps you outside the animal's flight distance.
- Is it okay to use bird call playback for photos?
- Most ethical guidelines, including Audubon's, advise against it, and it is banned in many reserves. Playback pulls birds off nests and territories, costs them energy and can expose them to predators. Patience at a feeding spot or a hide gets natural behaviour without the harm.
- Should you use flash on animals at night?
- No. Flash startles nocturnal animals and can leave them temporarily dazzled and vulnerable. Use a red-filtered torch for finding animals, raise ISO, and accept that a night photo will be grainy. For owls, nightjars and frogs, a short red-light look is the humane limit.
Animals mentioned
Jump from this article into the species pages behind the examples, systems notes, and field-guide references.
Answer guides related to this topic
If you want direct comparisons and clear recommendations, continue with these answer-focused pages.
Related comparisons
Continue with structured animal-vs-animal comparison pages connected to the species in this guide.
Bald Eagle vs Peregrine Falcon: Who Would Win in a Fight?
Peregrine falcon wins the speed question clearly. Bald eagle usually gets the overall edge in a direct clash because size, talon grip, and durability matter more once contact happens.
Eagle vs Falcon: Who Would Win in a Fight?
Eagle usually has the power edge in a direct clash. Falcon owns the speed edge and often the cleaner aerial intercept, but size and grip strength still favor the eagle when contact happens.
Fox vs Wolf: Who Would Win in a Fight?
Wolf clearly has the edge in a direct fight. Fox stays impressive because it is more about adaptability, stealth, and opportunistic survival than trying to overpower larger canids.
Peregrine Falcon vs Owl: Which Is Faster?
Peregrine falcon gets the speed and open-air answer by a mile. Owl gets the quieter low-light answer and can become much more relevant when the page shifts from raw speed to surprise in darkness.
Related guides

Animal identification
How to identify animals in the wild (2026 guide)
How to identify animals in the wild: silhouette, size against known objects, behaviour, habitat and range maps, lookalike pairs and verifying AI scans.
8 min read
How to Keep a Wildlife Photography Life List
How photographers keep a species life list that stays honest: what counts, how to handle uncertain IDs, where old archives fit, and which fields matter.
4 min read
Zoo, safari or nature walk: a family animal spotting guide
How to plan zoo visits, safari drives and local nature walks so kids actually see animals: best times, distances, simple games and what to look for.
7 min read